2 Using the Autograder
These instructions will guide you on how to use the autograder for all your labs. The autograder helps you check your code and provides feedback on your assignments. Follow these steps for a smooth grading experience.
2.1 Installing Required Software
Ensure you have all the necessary software installed. Follow the instructions in the Installing Required Software chapter or the instructions provided in class.
2.2 Downloading Project Files
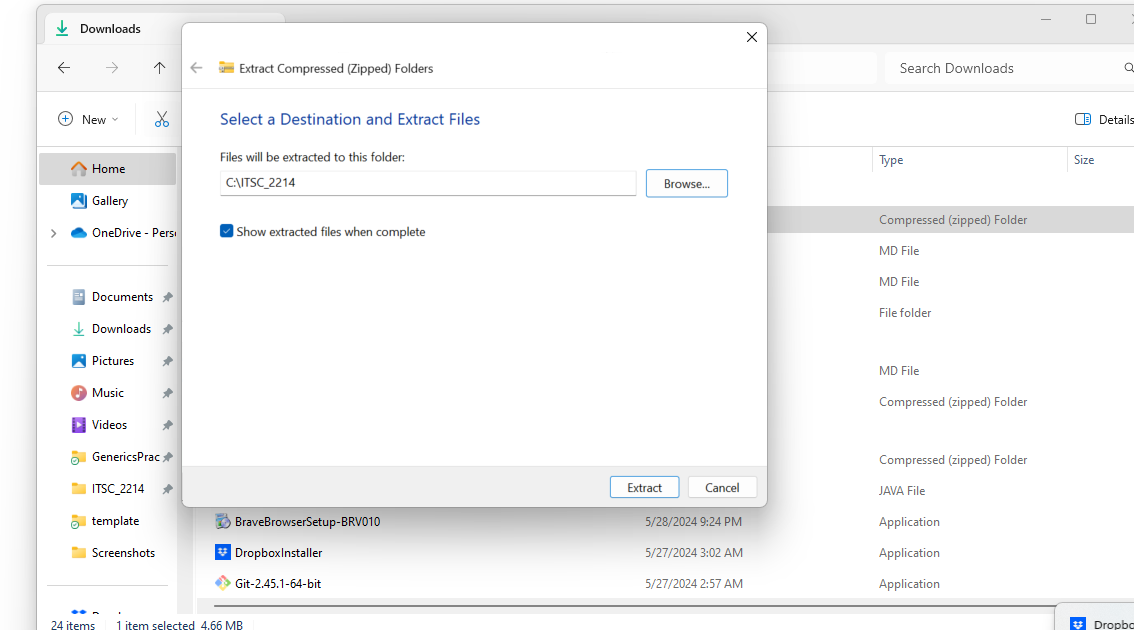
For each lab, you will be provided with a link to download the project files. Unzip these files into a designated folder, preferably this folder will be placed inside a ITSC 2214 folder for all labs for this class.
2.3 Opening Project in Visual Studio Code
Download the project files from
Unzip the files to preferably an
ITSC 2214folder for this class. You must have created this folder before for previous labs.
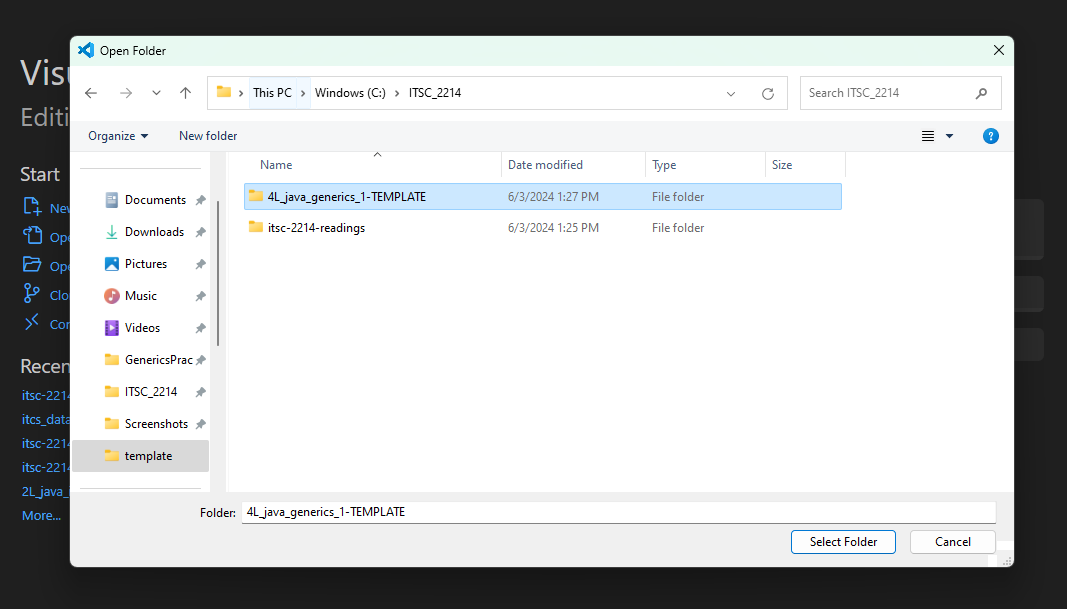
Launch Visual Studio Code. Go to File > Open Folder…, navigate and select the folder where you have extracted the zip file.

2.4 Writing Your Code
Each lab will contain specific instructions on what code you need to write.
2.5 Checking Autograder Feedback
You can check your grade locally by following these steps:
Open a terminal. To open a terminal in Visual Studio Code on different operating systems:
Windows: Press ” Ctrl + ` ” or ” Ctrl + Shift + ` ” to open the integrated terminal.
Mac: Press ” Cmd + ` ” or ” Cmd + Shift + ` ” to open the integrated terminal.
Run the command:
umm grade ./script.rhai
2.6 Viewing Generated Feedback
After running the grading command, the autograder will provide feedback on the tests that have failed, and tell if you have been penalized for any reason. You can view the feedback in the terminal or the feedback folder in the project directory.
It will also generate links that will further explain the reason for penalty, or explain the test that failed. You can click on these links to view the detailed feedback. Here is an example of a generated feedback link: https://feedback.dhruvdh.com/be5593a1-2b8f-49fc-a4ec-981095ae0702
2.7 Submitting your Project
When you are ready to submit your assignment:
Open a terminal. To open a terminal in Visual Studio Code on different operating systems:
Windows: Press ” Ctrl + ` ” or ” Ctrl + Shift + ` ” to open the integrated terminal.
Mac: Press ” Cmd + ` ” or ” Cmd + Shift + ` ” to open the integrated terminal.
You can copy and run the
umm create-submissioncommand in the terminal, and that should create a zip file with a name similar tosubmission-2024-01-24-15-04-50.zip.umm create-submissionSubmit the
submission-2024-... .zipfile to Gradescope. The submission zip file will appear in the file explorer tab of VS Code. You can right click on this file and click on reveal in explorer (windows) or reveal in finder (mac) in order to find this file. then, you can drag and drop this to gradescope for submission.
2.8 Additional Resources
- Autograder Commands: The autograder provides various commands to help you manage your project. You can see a list of available commands by running
umm --helpin the terminal.
Build tool for novices

Usage: umm [COMMAND ...]

Available options:
    -h, --help          Prints help information

Available commands:
    run                 Run a java file with a main method
    check               Check for syntax errors
    test                Run JUnit tests
    doc-check           Check a file for missing javadoc
    grade               Grade your work
    create-submission   Create a submission zip
    clean               Cleans the build folder, library folder, and vscode settings
    info                Prints a JSON description of the project as parsed
    update              Update the umm command
    check-health        Checks the health of the project
    serve-project-code  Starts and serves a web server that serves the project code
    reset               Reset the project metadata, and re-download libraries
    exit                Exit the program
2.9 AI Feedback
When you check your code with the autograder, you will receive feedback from an AI teaching assistant. If you are not satisfied with the response, you can request new feedback by clicking on one of the buttons that best describes your situation. These buttons include options like:
- Your suggestions are too broad and vague.
- I don’t understand.
- Your suggestions work, but I don’t understand why.
- The changes you suggested are unnecessary or already implemented in my submission.
- Request alternate explanation/solution.
- This explanation seems incorrect.
You can also provide additional notes in the text box below these buttons. This interaction helps tailor the feedback to better suit your needs.
Here is an example of the feedback interface: https://feedback.dhruvdh.com/be5593a1-2b8f-49fc-a4ec-981095ae0702
The AI feedback generator will prioritize key issues to help you make progress, provide relevant examples, and encourage critical thinking. It will avoid sharing direct solutions to foster independent problem-solving skills.